How to Resize Multiple Images on Mac Before Sending Them
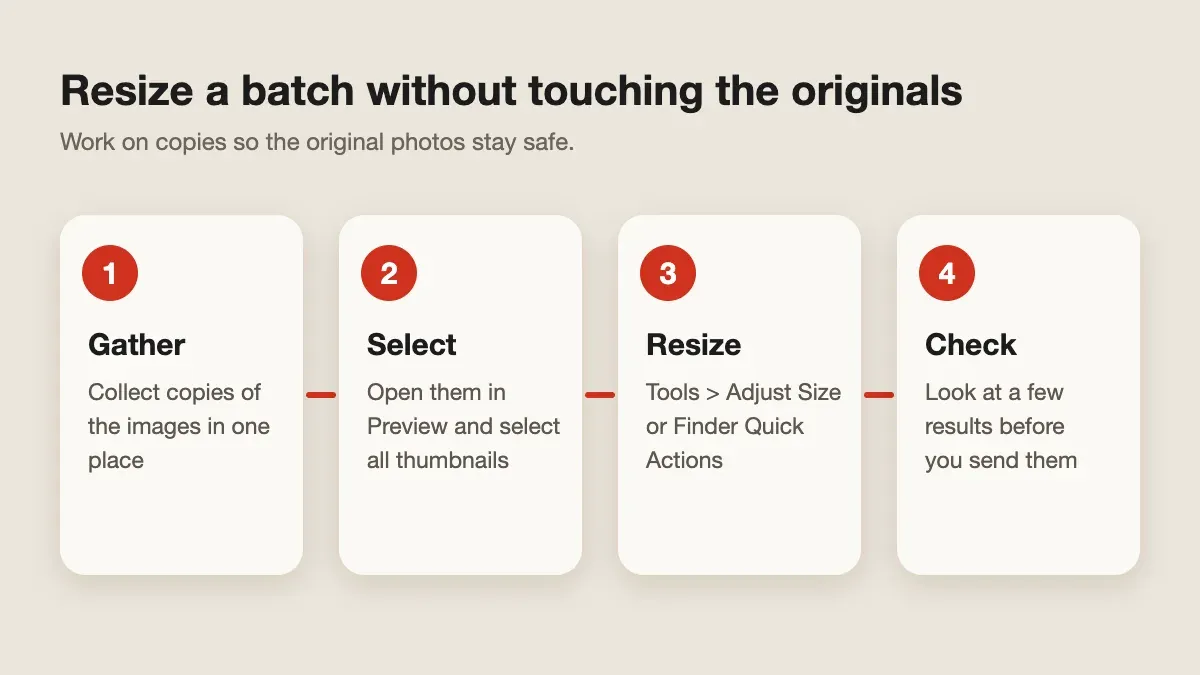
Quick answer: Copy the images first, then resize the copies. In Preview, open them in one window, select them in the sidebar, and choose Tools > Adjust Size. Finder also offers Quick Actions > Convert Image. Collect the originals on a Historr shelf if they live in different folders.
- Author
- KainoLab Team
- Written
- Oct 13, 2026
- Product
- Historr
Large photos and screenshots can make an email slow to send or a form reject an upload. Resizing them one by one is tedious, but a Mac can change several at a time.
This guide covers two built-in routes and a safe way to gather files from different folders first.
Should you resize the originals?
No. Work on copies. Resizing and compressing images can remove detail, and you may need the larger version later. Make a copy of the files, or save the resized versions to a new folder.
How do you resize several images in Preview?
Apple’s Preview guide says you can display several images in one window, select them in the sidebar, and choose Tools > Adjust Size. Apple documents the single-image controls in its resize guide.
- Select the image copies in Finder and open them in Preview. If they open in separate windows, change Preview’s Images settings so files open in the same window.
- Show the sidebar with View > Thumbnails and select all the thumbnails.
- Choose Tools > Adjust Size.
- Enter a width and height, or use the Fit into menu.
- Save, then check a few results.
Apple’s page does not say that every option in the dialog applies to the whole selection, so test the first batch on a few copies.
What about Finder Quick Actions?
Finder offers another route. Control-click the files, choose Quick Actions, then Convert Image, and pick a format and size. Apple describes this in its Finder Quick Actions guide. Menu options depend on the file type and your macOS version.
This is convenient for turning iPhone HEIC photos into JPEG files that other systems accept more readily.
What if the images are in different folders?
Finder cannot select files across different folders in one normal window, so you usually copy them into one folder first. A Historr shelf can make that gathering step quicker. Open a shelf, drag the images in from each folder, then drag the collection into a new working folder.
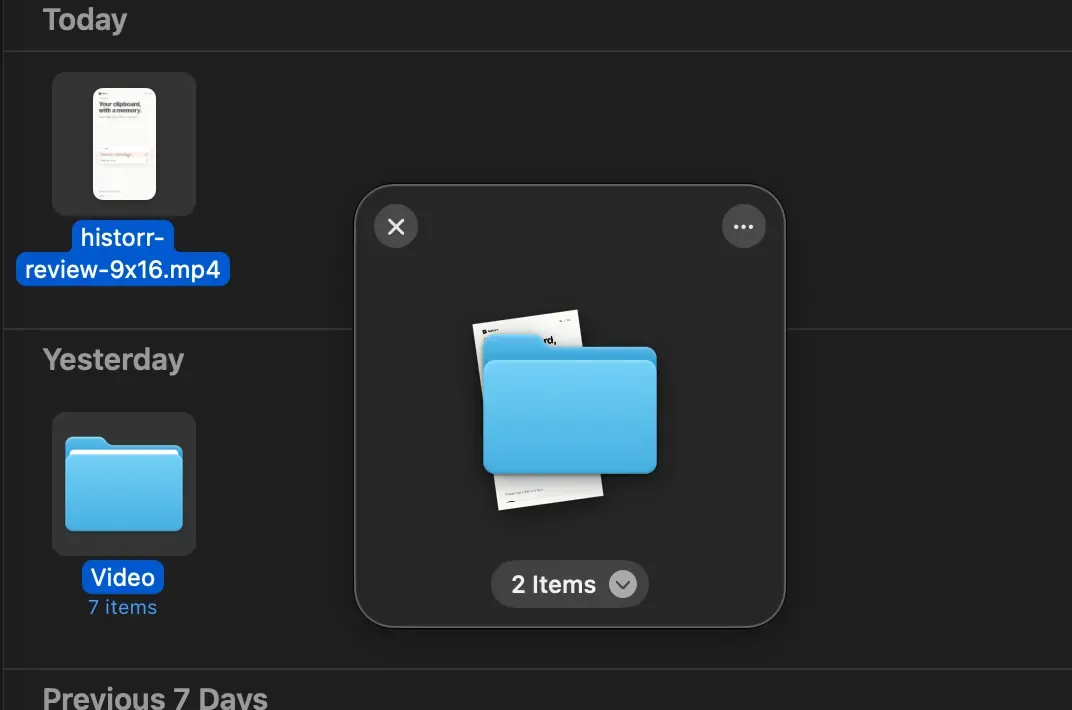
Test this with a few harmless files first and confirm that the originals remain where you expect. Our Drag Shelf guide covers the shake gesture and manual shelf shortcut, Option + Shift + D.
Historr’s Drag Shelf also has a Resize Images action. Its documentation says it makes resized copies at 50% or capped at 2048, 1024 or 512 pixels, and never changes your originals. That is a quick option for sending a set of photos, while Preview and Finder give you exact dimensions. See the Drag Shelf documentation.
Quick checklist
- Copy the images before you edit them.
- Resize a few first and inspect the quality.
- Keep one folder for originals and one for resized files.
- Check the final file sizes before you send.
Explore Historr to try the shelf workflow. KainoLab makes Historr and provides this guide.