From Mac Screenshots to Attachments with Historr
Quick answer: Treat a screenshot copied to the clipboard and a screenshot saved as a file as two different starting points. Historr's clipboard history helps you find a captured copy. Its Drag Shelf helps you gather saved files before attaching them to a message or report.
- Author
- KainoLab Team
- Written
- Oct 13, 2026
- Product
- Historr
A useful screenshot workflow ends with the correct image in the correct place. The capture itself is only the first step. You may still need to find the image, remove private details, collect related files, and check the final attachment.
Historr can support the copying and collection stages. This guide does not assume that it edits or redacts screenshots for you.
Choose the capture route first
| Starting point | Next step |
|---|---|
| Screenshot saved as a file | Find it in Finder and add it to a shelf |
| Screenshot copied to the clipboard | Find the captured image in clipboard history |
| Screenshot that needs editing | Edit it before preparing the delivery set |
Apple explains the available capture options in its Mac screenshot guide. Confirm whether your chosen option saves a file or copies an image before searching for the result.
Route 1: Prepare saved screenshots as attachments
Start with the files in Finder. Open each image and inspect the whole frame. Browser tabs, notification banners, account names, and background windows can reveal information you did not intend to share.
If you need to hide something, create an edited delivery copy and inspect that copy again. Add only the reviewed files to Historr’s shelf. Give each file a name that describes its purpose, such as “settings-before-change” or “error-message.”
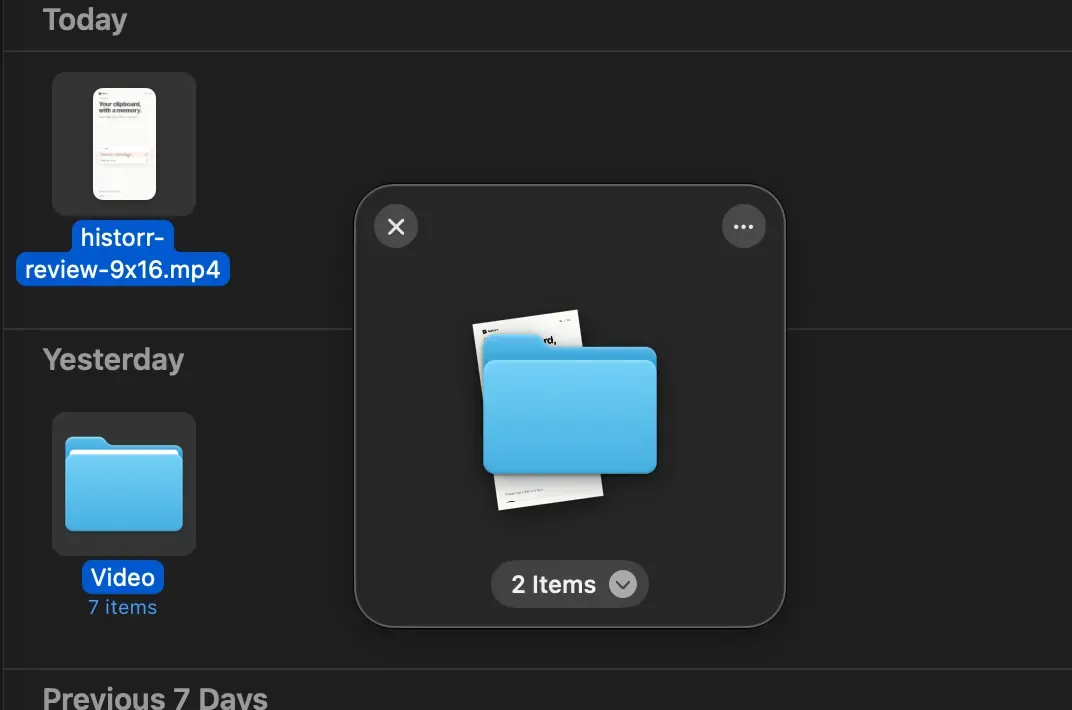
Drag the set into your destination and check the resulting attachments. Use the Drag Shelf documentation for the collection controls. Keep the reviewed source files until you have confirmed delivery.
Route 2: Reuse a copied screenshot
If your capture went to the clipboard while Historr was running, look for the image in history. Select the intended item and test a paste into the destination.
Historr’s clipboard documentation covers image entries and previews. A browser field that accepts text may still reject images, so verify the result rather than assuming a paste worked.
When the destination requires a file upload, use a saved image and its normal attachment control. Do not confuse a clipboard image with an existing file path.
Comparing this with Dropover
Dropover offers screenshot automation, including shelves for new screenshots, according to its FAQ. This guide describes a manual Historr workflow. If automatic collection is the reason you use Dropover, include that requirement in your comparison.
Frequently asked questions
Can a shelf replace image editing?
No. Collecting an image and editing its contents are different tasks.
Why can I not find my screenshot in Finder?
Check whether you copied it to the clipboard instead of saving a file. Also check the save location selected in your screenshot settings.
What should I check before sending?
Inspect the full image, confirm the recipient, and verify the attachment count. For more collection steps, read the multiple-folder guide.
Try Historr with a non-sensitive screenshot first.